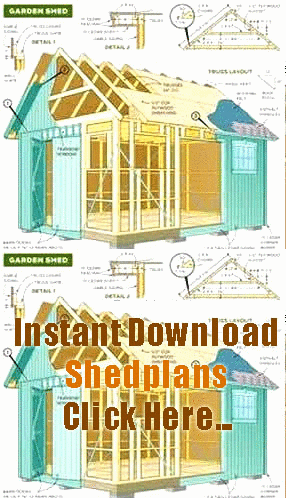
10x12 Shed Plans: Tips and Tricks for Building the Perfect Shed
10×12 Shed Plans: Tips and Tricks for Building the Perfect Shed
Introduction
Building a shed is an excellent way to add extra storage space to your backyard. A well-built shed can be used to store garden tools, lawn equipment, and outdoor furniture. However, building a shed can be a daunting task if you don’t know where to start. In this article, we’ll walk you through the process step by step and provide tips and tricks for building a perfect 10×12 shed.
Materials and Tools
Before you get started, you’ll need to gather some materials and tools. Here’s what you’ll need:
- Pressure-treated lumber
- Plywood
- Roofing materials
- Nails
- Screws
- Shingles
- Saw
- Drill
- Hammer
- Tape Measure
Building the Foundation
The first step in building a shed is to create a foundation. Here are the steps you should follow:
- Mark out the area where you want your shed to be.
- Remove any grass, sod, or debris from the area.
- Level the ground using a tamper or compactor.
- Install a 4-inch layer of gravel over the leveled area.
- Create a form using pressure-treated lumber for the concrete foundation.
- Mix concrete according to instructions and pour it into the form.
- Smooth the surface of the concrete with a trowel and allow it to dry for several days.
Building the Frame
Once the foundation is in place, you can start building the frame of the shed. Here are the steps you should follow:
- Cut pressure-treated lumber to length for the frame.
- Assemble the frame on top of the foundation using nails and screws.
- Install the wall studs at 16-inch intervals.
- Cut and install the headers for the door and window openings.
- Install the roof trusses on top of the frame.
Installing the Roof
With the frame in place, it’s time to install the roof. Here’s what you should do:
- Cut and install the roof sheathing.
- Install the drip edge along the roof’s perimeter.
- Apply roofing felt to the sheathing.
- Install the shingles starting from the bottom and working your way up.
Finishing Touches
With the hard work done, you can add finishing touches to your shed. Here are some ideas:
- Install windows and a door with hardware.
- Paint or stain the shed to match your home or garden.
- Add shelves or hooks to keep things organized inside.
- Landscaping around the shed to make it blend in with your backyard.
Conclusion
Building a shed can be a challenging but rewarding task. With the right tools and materials, anyone can build a perfect 10×12 shed. By following the steps and tips outlined in this article, you’ll be able to create a backyard oasis that you’ll enjoy for years to come.
Related Searches
Keywords: 10×12 shed plans, building a shed, shed construction, shed foundation, shed frame, shed roof, shed finishing touches, shed building tips, shed building materials, shed building tools.
