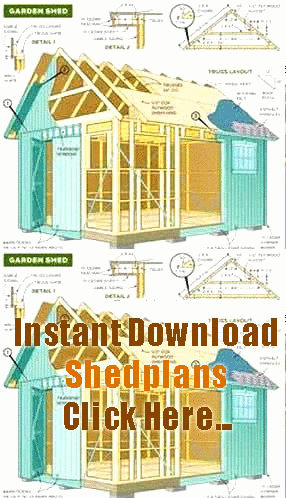
Building an 8x12 Shed: A Step-by-Step Guide
Building an 8×12 Shed: A Step-by-Step Guide
Are you in need of some extra storage space or looking for a new DIY project? Building your own shed can be a great solution. In this step-by-step guide, we will show you how to build an 8×12 shed from start to finish.
Before we dive into the steps, let’s go over the materials you will need:
Materials:
– Pressure-treated 4×4 posts
– Pressure-treated 2x4s for framing
– Pressure-treated plywood for flooring and roof
– Exterior-grade siding
– Nails/screws
– Roofing material
– Hardware (hinges, door handle, etc.)
Now that you have your materials, let’s get started!
Step 1: Foundation
The first step in building any structure is to create a solid foundation. We recommend using concrete piers or cinder blocks as the base for your shed. Place the posts on the piers or blocks and ensure they are level.
Step 1: Foundation
- Choose a level location for the foundation.
- Measure and mark the 8×12 dimensions for the foundation.
- Use a post-hole digger to dig holes for the 4×4 posts.
- Place the posts in the holes and fill them with concrete.
- Ensure the posts are level using a spirit level.
Step 2: Framing
Next, you will need to frame the walls and roof of the shed. Use pressure-treated 2x4s for the framing, and ensure the walls and roof are square.
Step 2: Framing
- Cut the 2x4s to the appropriate lengths for the walls and roof.
- Attach the 2x4s to the posts using screws or nails.
- Ensure the walls and the roof are square by measuring diagonally.
- Add additional framing for windows and doors.
- Install the beam for the roof.
Step 3: Sheathing
Once the framing is complete, it’s time to add the sheathing. Use pressure-treated plywood for the floor, walls, and roof. This will provide a sturdy and durable finish.
Step 3: Sheathing
- Install the plywood flooring.
- Attach the plywood to the walls and roof using screws or nails.
- Ensure there are no gaps between the sheathing and the framing.
- Cut out openings for windows and doors.
Step 4: Siding
To give your shed a finished look, add exterior-grade siding to the walls. There are many options available, including vinyl, wood, and composite materials.
Step 4: Siding
- Measure and cut the siding to fit the walls of the shed
- Attach the siding to the walls using nails or screws.
- Ensure the siding is level and flush with the walls.
- Add trim around windows and doors.
Step 5: Roofing
The final step is to add the roofing material. There are various options for roofing, including shingles, metal, or corrugated plastic. Choose a material that fits your budget and style.
Step 5: Roofing
- Install the roofing material according to the manufacturer’s instructions.
- Ensure the roofing is watertight and secure.
- Add flashing around any openings in the roof.
- Add gutters if desired.
Congratulations, you have now built your very own 8×12 shed! This project may seem daunting, but with careful planning and attention to detail, anyone can accomplish it.
In summary, building a shed involves five main steps: foundation, framing, sheathing, siding, and roofing. Remember to use quality materials and take your time with each step. A well-built shed can provide years of storage and DIY opportunities.
Now, it’s your turn to take on this exciting project. Happy building!
Link list:
– Step 1: Foundation
– Step 2: Framing
– Step 3: Sheathing
– Step 4: Siding
– Step 5: Roofing
Related Searches
– Pressure-treated wood
– Exterior-grade siding
– Roofing material
– Nails/screws
– Hardware (hinges, door handle, etc.)
– Concrete piers or cinder blocks
– Post-hole digger
– Spirit level
– Plywood
