Building Your Own Garden Shed: Tips and Plans
Building Your Own Garden Shed: Tips and Plans
Introduction
If you’re an avid gardener or DIY enthusiast, having a garden shed is essential for storing tools and equipment, potting plants, and creating a space to enjoy your hobbies. However, buying a pre-made shed can be costly and may not fully suit your needs. So, why not build your own garden shed? Here are some tips and plans to help you get started.
Step 1: Plan and Design
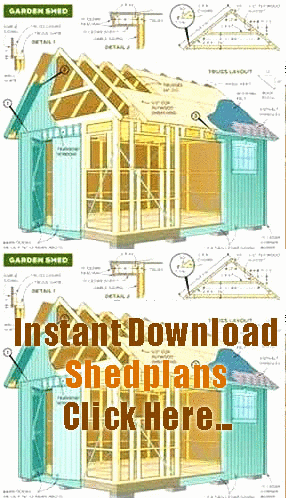
Before you begin construction, it’s important to have a plan in place. First, consider the size of your shed and the types of items you plan to store. This will determine the square footage and layout of your shed. Next, choose a building plan that suits your needs and skill level. There are many free shed plans available online, such as those provided by The Spruce and How To Specialist. Make sure you choose a plan that includes clear and concise instructions, a detailed material list, and illustrations to guide you through the process.
Step 2: Obtain Permits
Depending on your location and the size of your shed, you may need to obtain a building permit before starting construction. Check with your local building department to find out what permits and inspections are required. Failure to obtain the necessary permits may result in fines or even having to demolish your shed.
Step 3: Clear the Area
Clear the area where you plan to build your shed. Remove any debris, rocks, or plants that may be in the way. Level the ground, making sure the area is even and stable. This will ensure that your shed is built on a solid foundation.
Step 4: Gather Materials
Once you have your plan in place, it’s time to gather the necessary materials. You will need framing lumber, roofing materials, siding, screws, nails, and other hardware. Choose high-quality materials that are durable and weather-resistant. It’s better to invest in quality materials upfront, as it will save you money in the long run by reducing the need for maintenance or replacement.
Step 5: Frame the Shed
Following your building plan, start framing your shed. This involves cutting and assembling the walls, roof, and floor. Use a level to ensure everything is straight and square. Once the frame is complete, install the doors and windows.
Step 6: Install Siding and Roofing
Next, install the siding and roofing materials. This will protect your shed from the elements and give it a finished look. Use a weather-resistant material, such as cedar or vinyl siding, and choose a roofing material that matches your home’s style.
Step 7: Finish the Interior
Once your shed is weatherproof, it’s time to finish the interior. Install shelves, pegboards, and storage solutions to organize your tools and equipment. You can also add lighting, ventilation, and insulation to make the space more comfortable and functional.
Conclusion
Building your own garden shed can be a rewarding and cost-effective project. With the right plan and materials, you can create a space that meets your needs and enhances your gardening experience. Remember to obtain any necessary permits, choose quality materials, and follow your plan carefully. Happy building!
- Step 1: Plan and Design
- Step 2: Obtain Permits
- Step 3: Clear the Area
- Step 4: Gather Materials
- Step 5: Frame the Shed
- Step 6: Install Siding and Roofing
- Step 7: Finish the Interior
Link List:
1. The Spruce – https://www.thespruce.com/free-shed-plans-1357130
2. How To Specialist – https://howtospecialist.com/outdoor/shed/12×16-gable-shed-plans/
Related Searches
3. Building Department – check with your local building department for permit requirements
