How to Build a DIY Shed: A Step-by-Step Guide
How to Build a DIY Shed: A Step-by-Step Guide
If you’re looking for extra storage or a separate workspace, a shed can be a great addition to your property. However, buying a pre-made shed can be expensive, and it may not match your exact preferences. Building your own DIY shed can be a cost-effective solution that also lets you customize it to your needs.
Here’s a step-by-step guide on how to build your own DIY shed.
1. Choose the Right Location
The first step in building a shed is choosing the right location for it. You’ll need to consider the accessibility, sunlight, and ground quality when selecting a site.
Make sure the area is level and has good drainage to prevent flooding. Also, consider how easy it will be to get your tools and supplies to the site.
2. Obtain the Right Permits and Materials
Once you’ve chosen a site, you’ll need to obtain the necessary permits from your local government. Failure to get a permit can lead to costly fines and even the shutdown of your project.
Once you have the permits, it’s time to gather the materials you’ll need. You can buy a kit with everything you need or select the materials yourself. You’ll need wood, nails, screws, roofing materials, and any other items you’ll use in your shed.
3. Build the Shed Foundation
The foundation is critical to the stability and longevity of your shed. You can choose between a concrete slab, a wood platform, or a raised foundation.
To build a wood platform, start by digging a trench around the perimeter of where the shed will be. Then, create a frame for the platform using treated lumber. Cover the frame with plywood, ensuring it’s level, and add a layer of moisture-resistant barrier.
4. Assemble the Shed Walls and Roof
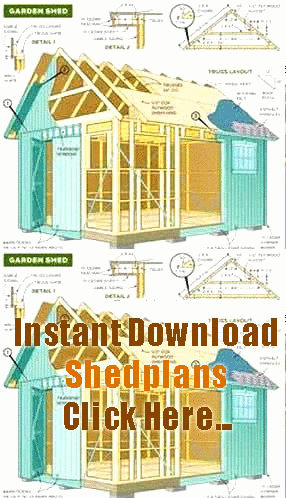
Once the foundation is complete, it’s time to build the shed walls, door, and roof. Cut the lumber to the right length, then use nails or screws to assemble the walls. Make sure everything is level and square before moving onto the next step.
Use a ladder to add the roof framing, then install the roof sheathing. Add the roofing material of your choice, such as shingles, metal paneling, or corrugated roofing.
5. Finish the Shed Interior and Exterior
After the walls and roof are complete, you’ll need to finish the exterior and interior of the shed. Install windows and a door to allow light into the shed, and add insulation if you’d like to use the shed year-round.
Then, paint, stain, or seal the shed to protect it from weather damage. Add shelves, hooks, and other storage solutions to the interior to make the most of the space.
Conclusion
Building a DIY shed can be a cost-effective solution that lets you customize the building to your exact preferences. By following this step-by-step guide, you’ll be able to build your own shed from start to finish.
Remember to choose the right location, obtain the necessary permits, and choose high-quality materials. Building a strong foundation, walls, roof, and finishing the interior and exterior will ensure your shed lasts for years to come.
Related Searches
– DIY shed
– Customization
– Cost-effective
– Permits
– Materials
– Foundation
– Walls
– Roof
– Interior
– Exterior
