The Ultimate Guide to Building a Shed with 8x12 Plans
The Ultimate Guide to Building a Shed with 8×12 Plans
Introduction
Building a shed can be a great addition to any property. Not only can it provide valuable storage space, but it can also add to the overall aesthetic of your backyard. However, building a shed can be a daunting task, especially if you have little to no experience in construction. That’s where the 8×12 shed plans come in handy. In this ultimate guide, we’ll take you through the step-by-step process of building a shed using the 8×12 plans and all the important things you need to know.
- What are 8×12 Shed Plans?
- Tools and Materials Required
- Preparation and Foundation
- Building the Frame
- Roofing and Siding Installation
- Finishing Touches
- Tips for Maintenance and Care
- Conclusion
What are 8×12 Shed Plans?
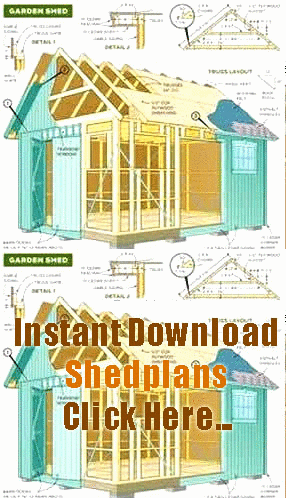
8×12 shed plans are a set of blueprints that outline the specifications for building a shed that measures 8 feet wide by 12 feet long. These plans are designed to provide a detailed guide on building a shed starting from the foundation to the roof installation. Each plan varies in design, so it’s important to choose one that best fits your needs and preferences.
Tools and Materials Required
To get started, you will need some basic tools and materials. Here’s a list of what you’ll need:
- Tape measure
- Square
- Level
- Circular Saw
- Hammer
- Chisel
- Power Drill
- Screwdriver
- Shovel
- Gravel
- Cement
- Lumber
- Nails
- Roofing materials (e.g. shingles, metal roofing, etc.)
- Siding Materials
Preparation and Foundation
Before you begin building, you’ll need to prepare the site for the shed. This includes clearing the area and leveling the ground. Next, you’ll need to build a foundation. The two most popular types of foundations are concrete slabs and wooden skids. If you choose a concrete slab, you’ll need to pour the cement and let it dry. For wooden skids, you’ll need to lay down a layer of gravel and then place the skids on top.
Building the Frame
Once you have the foundation in place, it’s time to build the frame. The frame consists of the base, walls, and roof beams. Begin by constructing the base and securing it to the foundation. Then, build the walls and attach them to the base. Finally, construct the roof beams and attach them to the wall frame.
Roofing and Siding Installation
With the frame in place, it’s time to install the roofing and siding. This involves attaching the roofing materials to the roof beams and securing the siding to the walls. There are various types of roofing and siding materials to choose from, so be sure to select ones that are suitable for your local weather conditions and budget.
Finishing Touches
The finishing touches involve painting the shed and adding any final accessories, such as windows, doors, and shutters. You can also add shelves and storage cabinets to the interior of the shed to make the most of the available space.
Tips for Maintenance and Care
To ensure your shed lasts for a long time, it’s important to take good care of it. This includes regular cleaning, repainting, and resealing. You should also inspect the shed regularly for any signs of damage or wear and tear.
Conclusion
Building a shed using 8×12 plans can be a rewarding DIY project as well as a valuable addition to your property. Whether you want to use it as a storage space for your gardening tools or as a workspace for your hobbies, with the right tools, materials, and approach, anyone can build a shed. We hope this ultimate guide to building a shed with 8×12 plans has given you the inspiration and knowledge you need to get started. Happy building!
Related Searches
SEO keywords:
– Building a shed
– 8×12 shed plans
– Tools and materials
– Foundation
– Frame construction
– Roofing installation
– Siding installation
– Maintenance and care
