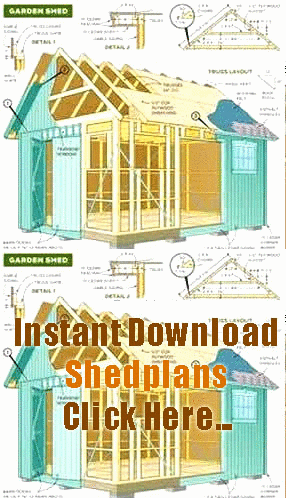
10x10 Shed Plans: A Beginner's Guide to Building Your Own Shed
10×10 Shed Plans: A Beginner’s Guide to Building Your Own Shed
Introduction
Building your own shed might seem like a daunting task, but with the right plans, tools, and resources, it can be an exciting project. A 10×10 shed is the perfect size for storing garden equipment, tools, and even small vehicles. In this beginner’s guide, we will provide you with step-by-step instructions and tips on how to build your own 10×10 shed.
Why Build Your Own Shed?
Before we dive into the plans and tools, let’s first discuss why building your own shed is a great idea. First and foremost, building your own shed allows you to customize it to your specific needs and preferences. You can choose the materials and design that match your existing architecture and landscaping.
Secondly, building your own shed is a cost-effective option. Hiring a contractor or buying a pre-made shed can be expensive. Building your own shed allows you to save money on labor and materials.
Lastly, building your own shed can be a fun and rewarding experience. It’s a great opportunity to learn new skills, work on a creative project, and enjoy the satisfaction of completing a project with your own hands.
Materials and Tools Required
Before starting your shed building project, you will need to gather the necessary materials and tools. Here’s a breakdown of what you’ll need:
Materials:
– 2×4 lumber
– 4×4 posts
– Plywood
– Roofing materials (shingles or metal roofing)
– Nails and screws
– Concrete blocks
Tools:
– Circular saw
– Table saw or miter saw
– Drill and drill bits
– Hammer
– Level
– Tape measure
– Safety glasses and gloves
Building the Shed
Once you have all the necessary materials and tools, it’s time to start building your 10×10 shed. Here’s a step-by-step guide to follow:
Step 1: Create a foundation. Dig a 4-inch deep trench for the perimeter of the shed. Fill the trench with 2 inches of gravel and then lay down concrete blocks in the trench.
Step 2: Build the floor. Use 2×4 lumber to create the floor frame. Cut the plywood to size and attach it to the frame using nails and screws.
Step 3: Construct the walls. Measure and cut the wall studs, plates, and headers. Nail the studs to the plates and headers to create the wall frames.
Step 4: Assemble the roof. Cut the roof rafters and attach them to the top plates of the wall frames. Attach the plywood sheathing to the rafters and install the roofing materials.
Step 5: Install doors and windows. Cut out spaces for doors and windows and install them in the frame.
Step 6: Finish the shed. Add trim and siding to the exterior of the shed. Paint or stain the shed to protect it from the elements.
Conclusion
Building a 10×10 shed may seem like a challenging task, but with the right plans and tools, it can be a fun and rewarding experience. Whether you’re looking to store garden equipment, tools, or a small vehicle, a shed can be a great solution. Follow these step-by-step instructions and tips to create your own haven. Happy building!
- Introduction
- Why Build Your Own Shed?
- Materials and Tools Required
- Building the Shed
- Conclusion
Related Searches
– Introduction
– Why Build Your Own Shed?
– Materials and Tools Required
– Building the Shed
– Conclusion
