How to Build a DIY Shed: A Comprehensive Guide
How to Build a DIY Shed: A Comprehensive Guide
Introduction
If you’re looking to add some extra storage space to your property, building a shed is an excellent choice. Not only can a shed help keep your yard and garage organized, but it can also be a fun and rewarding project. In this comprehensive guide, we’ll walk you through the steps to build your DIY shed.
Step 1: Planning
Before you begin building your shed, it’s essential to plan it out first. This includes considering the size and location of the shed, the materials, and any permits or zoning requirements necessary. By doing proper planning, you can avoid costly mistakes and ensure that your shed is built to meet your needs.
- Consider the size and location of the shed to fit your storage needs and property regulations
- Choose the materials that will suit your climate and budget
- Determine any permits or zoning requirements necessary in your area
Step 2: Foundation
The foundation is the most crucial part of your shed because it will determine how stable and durable it will be. There are several foundation options to choose from, including concrete slabs, pavers, or a traditional wood frame.
- Choose the foundation that best suits your needs and budget
- Ensure that the foundation is level and square to prevent any issues down the line
Step 3: Framing
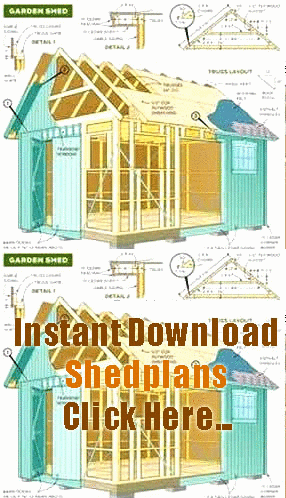
Once you have the foundation in place, it’s time to start framing the walls and roof of your shed. This step will require some careful measuring and cutting, but it’s an essential part of ensuring that your shed is sturdy and secure.
- Measure and cut your lumber to fit your shed design
- Build the walls and roof one section at a time
Step 4: Siding and Roofing
After you have finished framing the shed, it’s time to add the siding and roofing to protect it from the elements. There are many options available, including wood, vinyl, and metal siding, as well as asphalt, metal, or rubber roofing.
- Choose the siding and roofing materials that best suit your needs and budget
- Install the siding and roofing securely to protect your shed from the weather
Step 5: Finish Work
With the framing, siding, and roofing in place, the final step is to add the finishing touches to your shed. This includes things like doors, windows, and trim work.
- Measure and install doors and windows to suit your needs
- Add trim work to give your shed a polished look
- Paint or stain your shed to protect it from the elements and enhance its appearance
Conclusion
By following these steps, you can build a DIY shed that is both sturdy and attractive. While it does require some planning and work, building your shed can be a fun and rewarding project that will provide you with extra storage for years to come.
For more information on building a DIY shed, be sure to consult a professional builder or home improvement store staff for expert advice.
Related Searches
SEO keywords: DIY shed, building a shed, storage space, shed planning, shed foundation, shed framing, shed siding, shed roofing, finishing touches, professional builder, home improvement store.
