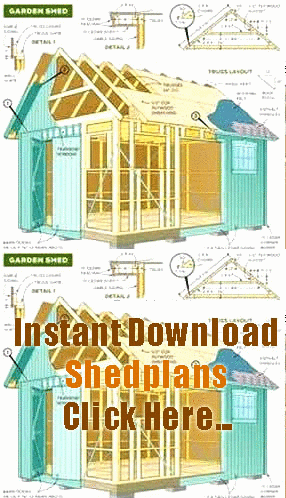
Building a 10x10 Shed: A Guide to Plans and Designs
Building a 10×10 Shed: A Guide to Plans and Designs
Are you thinking of building a 10×10 shed for extra storage space, a workshop, or just a place to escape the hustle and bustle of daily life? If so, this guide will provide you with everything you need to know about building your own shed, from choosing the right plans and designs to laying the foundation and adding the finishing touches.
What You Need to Get Started
Before you begin building your shed, you’ll need to gather some basic tools and materials. Here’s a list of the essentials:
- Measuring tape
- Saw
- Drill
- Hammer
- Screws and nails
- Level
- Concrete blocks or foundation
- Lumber or prefabricated shed kit
- Plywood
- Roofing materials
Choosing the Right Plan and Design
The first step in building a 10×10 shed is choosing a plan and design that meets your needs and budget. You can find shed plans and designs online or at your local hardware store. When selecting a plan, consider the following factors:
- Size and style – Make sure the plan and design matches the amount of space you have available and your personal style preferences.
- Functionality – Determine whether you need your shed to accommodate large equipment or just basic garden tools.
- Budget – Look for plans that fit your budget and don’t require too many specialty materials or tools.
Building the Foundation
A sturdy foundation is crucial to the stability and longevity of your shed. Here are the basic steps for building a shed foundation:
- Mark the area for the foundation and clear away any debris or vegetation.
- Create a level base using concrete blocks or pour a concrete slab.
- Add treated lumber to the perimeter to create a floor frame.
- Attach plywood to the floor frame to create a stable and level base for your shed.
Assembling the Shed
Once your foundation is complete, it’s time to assemble your shed. Here are some of the basic steps:
- Follow the plan and design instructions to assemble the walls, roof, and doors.
- Use a level to ensure that everything is straight and properly aligned.
- Secure the walls and roof to the frame using screws or nails.
- Add insulation, if desired, to keep the shed comfortable in extreme temperatures.
- Install windows and a skylight, if desired.
Finishing Touches
Finally, it’s time to add the finishing touches to your shed. Here are some ideas:
- Paint the exterior to match your home or landscape.
- Install shelving and storage units to maximize space and organization.
- Add lighting, electrical outlets, and heating or cooling systems, if needed.
- Include a workbench or seating area to make the shed a useful and enjoyable space.
In Conclusion
Building a 10×10 shed can be a fun and rewarding project, especially when you follow these basic guidelines for choosing plans and designs, building a strong foundation, assembling the shed, and adding the finishing touches. With a little planning and effort, you can create a functional and attractive shed that will enhance your home and property for years to come.
Related Searches
– Measuring tape
– Saw
– Drill
– Hammer
– Screws and nails
– Level
– Concrete blocks or foundation
– Lumber or prefabricated shed kit
– Plywood
– Roofing materials
